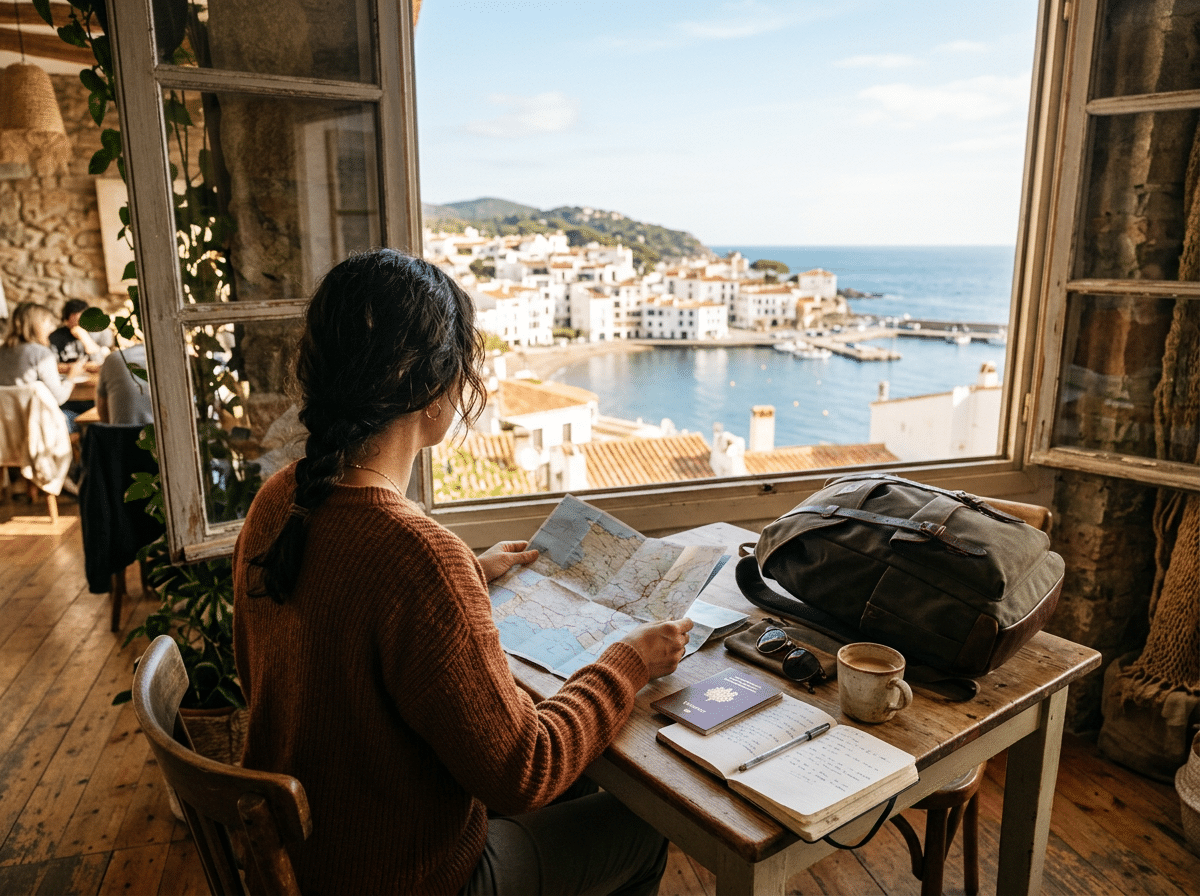
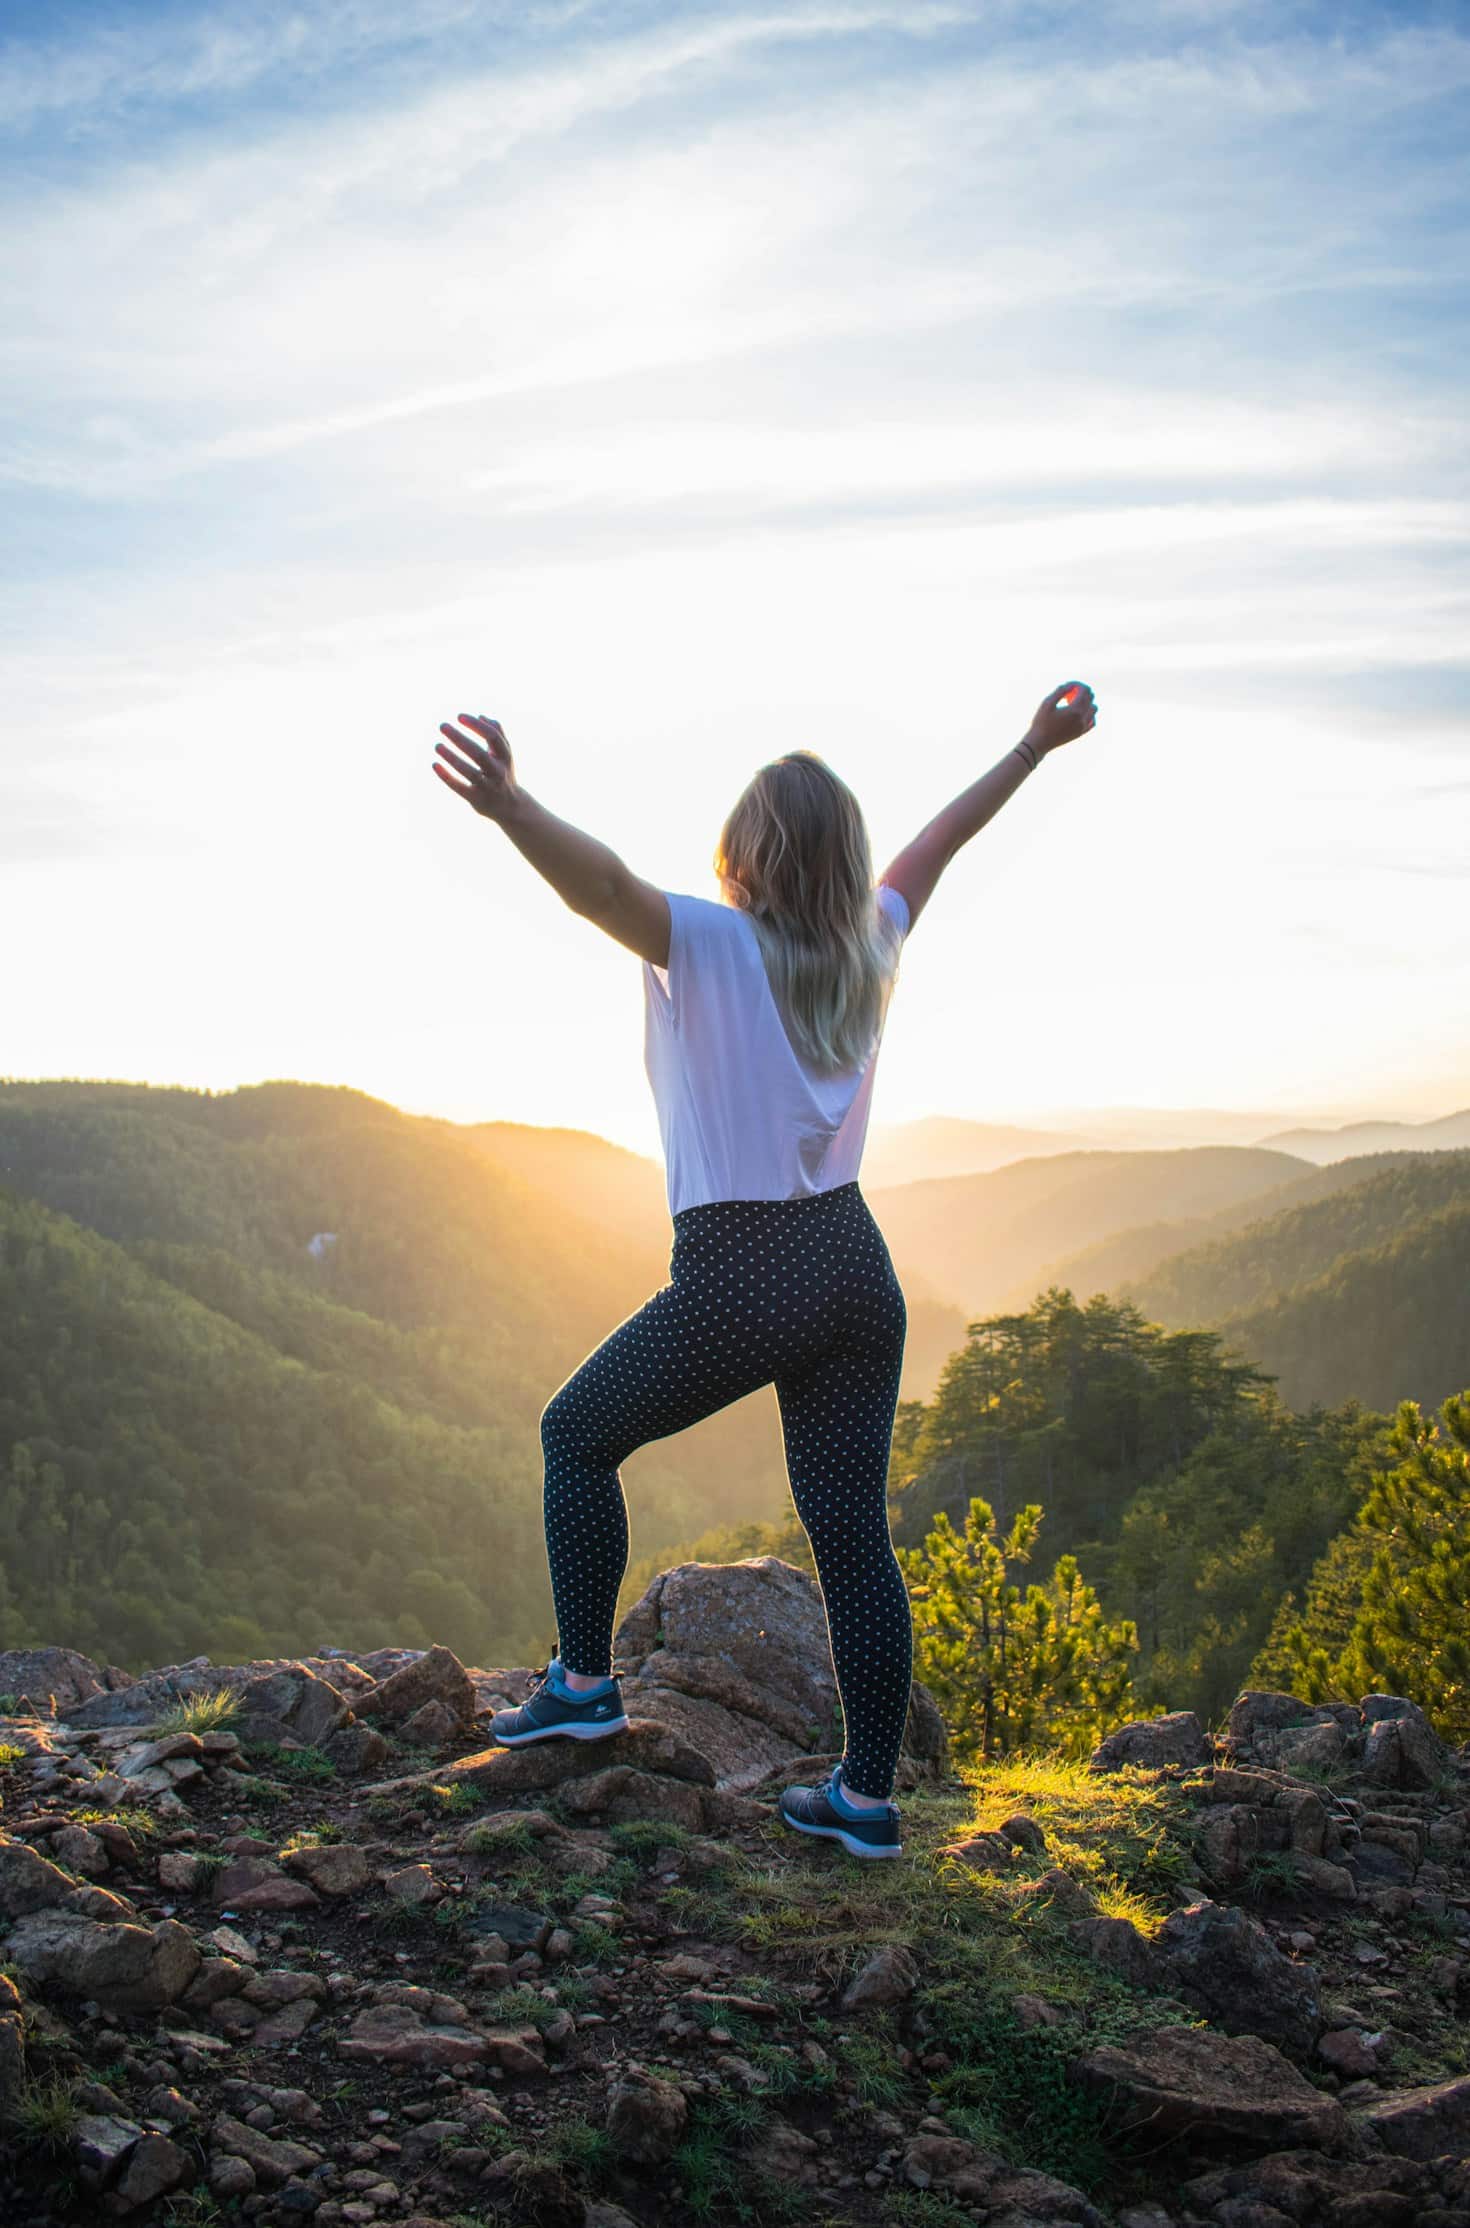
Eating alone isn’t lonely. It can be your favorite kind of me-time.
Start with places made for one: tea houses, cafés, noodle shops, food courts, and counter seats.
Learn “this one, please,” “thank you,” and “the bill, please” in the local language.
When words fail, point, show a photo, or use your phone’s camera translator.
The first solo meal is the hardest. After that, it becomes a habit you’ll look forward
My first meal alone in another country
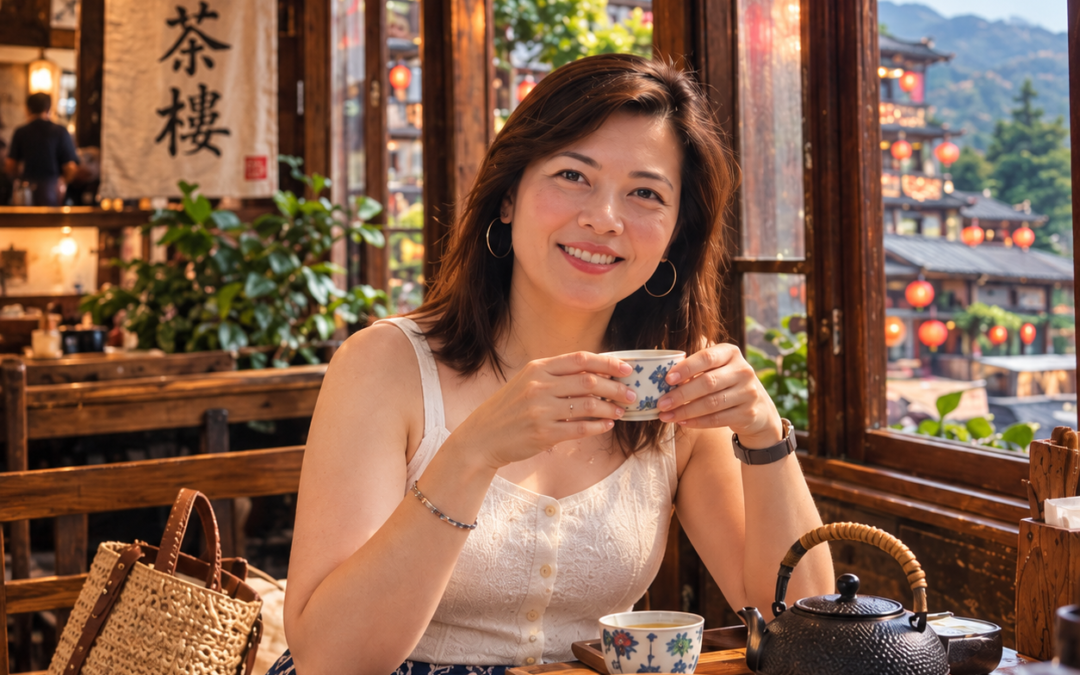
It was the late 1990s, and I had just arrived in Taipeifrom the Philippines. This wasn’t a holiday. I had moved there to work and live on my own, for the first time in my life without my parents nearby.
I was nervous and excited at the same time. I had studied some Mandarin in school back home, but reciting lessons in a classroom is very different from ordering food from a stranger who is waiting for your answer. Back then, fewer people in Taiwan spoke English, so there was no easy way out. If I wanted to eat, I had to try.
So I chose a cute little tea house. It felt calm and welcoming, the kind of place where sitting alone didn’t seem strange at all.
I don’t remember being embarrassed. I remember feeling proud. I had found my way there, ordered my own food, and sat with my own thoughts in a city that was still new to me.
That small meal set the tone for everything that followed. Since then, I’ve made it a habit to dine out alone as often as I can. It isn’t something I put up with when no one is free. It’s part of my me-time, and I look forward to it.
Why eating alone feels scary (and why it doesn’t have to)
Most of the fear comes from imagining that everyone is watching you. They aren’t. People are busy with their own food, their own friends, and their own phones. And in many cities, from Taipei to Tokyo to Seoul, eating alone is completely ordinary.
When you sit alone, you notice more: the smell of the kitchen, the conversation at the next table, the way locals order. A solo meal is one of the quietest ways to feel at home in a new place.
10 tips for eating alone in a new place or country
1. Start with places made for one. Tea houses, cafés, noodle shops, food courts, bakeries, and night market stalls are full of solo diners. Save the big group restaurants for later.
2. Choose your seat on purpose. A window seat gives you a view. A counter or bar seat lets you watch the cooks and chat if you want to. A corner table gives you calm.
3. Go at quieter hours. An early lunch or a mid-afternoon snack means shorter lines, more patient staff, and no pressure to free up a table.
4. Learn three food phrases. “This one, please,” “thank you,” and “the bill, please” will carry you through most meals. (See the table below.)
5. Point, smile, and show. Picture menus, plastic food displays, and the dish at the next table are your friends. A smile and a point work in every language.
6. Use your phone, not as a shield, but as a helper. A camera translation app can read a menu in seconds. Save photos of dishes you want to try before you go.
7. Ask what’s popular. “What do most people order?” is a great question when you’re unsure, and it often leads to the best dish in the house.
8. Know the local rules. Some restaurants need two orders minimum, like many Korean BBQ places. In Japan, many noodle shops use ticket machines at the door. Watch what others do for a minute before you order.
9. Bring a small companion. A book, a journal, or a postcard to write. It gives your hands something to do while you settle in, and you’ll find you need it less each time.
10. Treat it as me-time. Put the phone down for a few minutes. Taste slowly. Notice how you feel. This is time you chose for yourself.
Handy phrases for ordering alone
Language
“This one, please”
“Thank you”
Mandarin (Taiwan)
Zhège, xièxie (this one, thanks)
Xièxie
Japanese
Kore o kudasai
Arigatō gozaimasu
Korean
Igeo juseyo
Gamsahamnida
Thai
Ao an nee (kha)
Khop khun (kha)
Vietnamese
Cho tôi cái này
Cảm ơn
A warm smile does the rest.
What a solo meal gives you
When you eat alone, you learn that you can take care of yourself in a place where you don’t know the rules yet. You learn to ask, to try, and to enjoy your own company without waiting for anyone’s permission. That confidence follows you everywhere: to the next city, the next trip, the next new beginning.
You’re allowed to take yourself out
You don’t need someone across the table to enjoy a good meal. You don’t need perfect words, either. A table for one is still a full table.
You’re allowed to take yourself out, and to enjoy every bite.
Ready for your first solo trip? Get the free Solo Trip Starter Checklist, and when you’re ready, TravelNooks can book the flight to your next table for one.
FAQ
Publish as the last section of the post, under “Frequently asked questions”.
Is it weird to eat alone in a restaurant? No. Eating alone is common in many cities, especially in Asia, where noodle shops, tea houses, and counter seats are designed for solo diners. Most people are focused on their own meal, not on you.
How do I eat alone without feeling awkward? Choose a solo-friendly place, sit at a window or counter seat, go at a quieter hour, and bring a book or journal for the first few minutes. Treat the meal as me-time.
How do I order food when I don’t speak the language? Learn “this one, please” and “thank you,” point at picture menus or food displays, show photos of dishes, and use a camera translation app to read menus.
Where is the easiest place to eat alone while traveling? Tea houses, cafés, noodle shops, food courts, bakeries, and night market stalls are the easiest places for a first solo meal.
Do some restaurants not allow solo diners? Some do, in effect. Many Korean BBQ restaurants require at least two orders. Check the menu or ask before you sit down, or choose noodle shops and food courts instead.
Yes, you can do a solo weekend in Baguio for under ₱5,000. Take a regular aircon bus from Manila (about ₱650- 850 each way), stay two nights in a budget transient room or hostel near Session Road, eat at carinderias and the night market, and spend your days walking: Burnham Park, the Botanical Garden, Mines View, and Wright Park cost little or nothing.
Key takeaways
Bus fare: regular aircon buses from Cubao start at about ₱650 one way; deluxe is about ₱765 to ₱800.
Travel time: four to six hours, depending on traffic.
Stay: book a budget room or hostel near Session Road so you can walk almost everywhere.
Free and cheap: Burnham Park, Wright Park, Mines View, Session Road, and the Botanical Garden cost little or nothing.
Avoid long weekends, like Undas (1 and 2 November), unless you’ve booked ahead. Prices and crowds rise fast.
Why Baguio is the perfect first solo trip
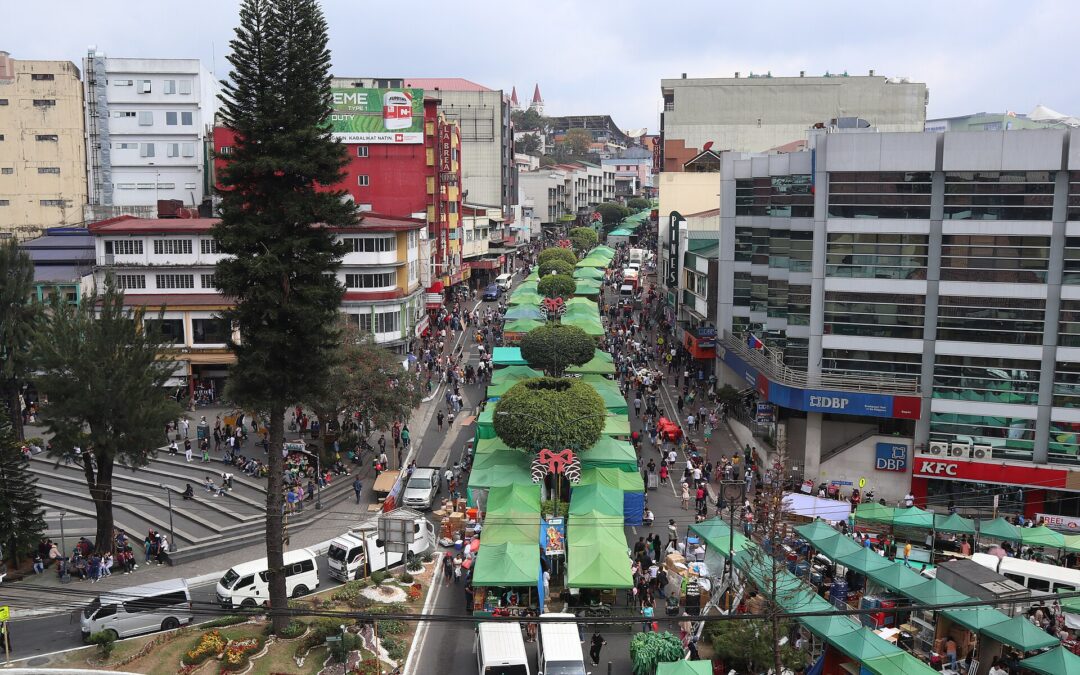
Baguio is close enough to reach in an afternoon, cool enough to feel like somewhere else, and walkable enough that you don’t need a car or a companion. You can sip coffee alone at a window seat, wander through pine trees in the morning mist, and be back in Manila by Sunday night.
It’s the gentlest way to learn that you’re good company.
I’ve been to Baguio a couple of times and each experience was different from each other. While it wasn’t a solo travel, it was memorable because I did it with friends.
Your ₱5,000 budget, at a glance
This budget covers two nights and two and a half days, from Friday night or Saturday morning to Sunday evening.
Room rates rise on weekends and holidays. Book early, and expect to spend more if you prefer a private room with your own bathroom.
Getting there: Manila to Baguio by bus
Three bus companies run frequent trips from Metro Manila:
Bus company
Main terminals
One-way fare (Cubao)
Victory Liner
Cubao, Pasay, Caloocan, Sampaloc
₱655 regular, ₱784 deluxe, ₱1,055 first class
Genesis and JoyBus
Cubao, Pasay, Avenida, PITX, Trinoma
₱649 regular, ₱765 deluxe, ₱970 JoyBus
Solid North
Cubao, PITX
₱665 deluxe from Cubao
Fares as listed in August 2026. Book online or at the terminal, especially for Friday night and Sunday afternoon trips.
Solo tip: take a morning or early-afternoon bus so you arrive in daylight. Choose a window seat on the left side for mountain views as you climb up Kennon or Marcos Highway.
Where to stay
Stay within walking distance of Session Road. It’s central, well lit, and close to restaurants, the market, and jeepney routes. Look for:
A transient room, hostel, or small inn with recent reviews from women traveling alone
A front desk or caretaker on site at night
Hot water (Baguio nights get cold) and a blanket
Book through TravelNooks and we’ll help you find a safe, central room that fits the budget.
A gentle 2-night itinerary
Friday night or Saturday morning: Arrive and settle. Check in, change into something warm, and walk down Session Road. Have a bowl of hot soup and an early night.
Saturday: Parks, pines, and the night market.
Morning: Burnham Park. Walk the lake path or rent a bike and enjoy the cool air.
Late morning: Baguio Cathedral, then coffee on Session Road.
Afternoon: Take a jeepney or taxi to Mines View Park for valley views, then walk to Wright Park and The Mansion gates.
Evening: The Harrison Road night market for cheap ukay-ukay finds and street food. Go early, stay with the crowds, and keep your bag in front.
Sunday: Gardens and goodbyes.
Morning: The Botanical Garden for a quiet walk among pines.
Optional splurge: BenCab Museum on Asin Road for art and a garden café. Check the current entrance fee and note it’s closed on Mondays.
Lunch, then pasalubong shopping at the public market or Good Shepherd.
Afternoon: Catch your bus back to Manila.
Eating well on a budget
Carinderias and the public market serve rice meals for a fraction of café prices.
Strawberry taho from street vendors is a Baguio classic.
Treat yourself once. Save part of your food budget for one cozy café meal. It’s part of the experience.
Eating alone: choose window or counter seats, bring a book, and enjoy the quiet.
Solo safety and comfort tips
Pack a jacket, long pants, and closed shoes. Baguio evenings can be much colder than Manila.
Share your itinerary and bus details with someone you trust.
Use metered taxis or Grab after dark rather than walking long, unlit roads.
Bring a small umbrella; afternoon fog and rain are common.
Keep your phone charged; cold weather drains batteries faster.
You’re allowed to go
You don’t need a big budget, a long vacation, or someone to come with you. One weekend, one bus ticket, and a warm jacket are enough to begin.
You’re allowed to go, even if it’s just for two nights.
Ready to plan it? TravelNooks can book a central, solo-friendly stay in Baguio. New to traveling alone? Get the free Solo Trip Starter Checklist and copy this budget table into it.
FAQ
Can I do a Baguio trip for under ₱5,000? Yes. A two-night solo weekend fits under ₱5,000 if you take a regular aircon bus (about ₱650 each way), stay in a budget room or hostel, eat at carinderias, and spend your days in free or low-cost parks.
How much is the bus from Manila to Baguio? As of August 2026, one-way fares from Cubao start at about ₱650 for regular aircon, about ₱765 to ₱785 for deluxe, and about ₱970 to ₱1,055 for premium buses like JoyBus and Victory Liner First Class.
How long is the bus ride from Manila to Baguio? Four to six hours, depending on traffic and your departure terminal.
Is Baguio safe for solo female travelers? Baguio is a popular, generally safe city for solo women. Stay near Session Road, use metered taxis or Grab after dark, and keep your bag in front at the night market.
What should I pack for Baguio? A warm jacket, long pants, closed shoes, a small umbrella, and a power bank. Evenings are much colder than in Manila.
What are free things to do in Baguio? Walk around Burnham Park, Session Road, Mines View Park, and Wright Park, and visit Baguio Cathedral. The Botanical Garden charges only a small entrance fee.
Checked 12 October 2026. Recheck fares the week you publish.
Open points: room rates, meal costs, and local rides are planning estimates, not quoted prices. If you can, check two or three real listings near Session Road and adjust the stay line before publishing. Prices are subject to change without notice.
Seoul is one of the easiest big cities in Asia for a first solo trip abroad. Filipinos need a Korean tourist visa, so apply four to six weeks ahead. Go in late October to early November for autumn leaves, stay near a subway line in Jongno, Myeongdong, or Hongdae, and get around with a T-money card. Four days is enough for a first visit.
Key takeaways
Visa: Philippine passport holders need a tourist visa for Korea. Apply through an accredited agency four to six weeks before your trip.
Best time for leaves: Seoul’s autumn colors peak in late October, per the 2026 Korea Tourism Organization forecast.
Getting around: a rechargeable T-money card works on subways and buses. A subway ride starts at ₩1,550.
Maps: use Naver Map or KakaoMap. Google Maps doesn’t give full walking directions in Korea.
Stay: pick a place within a five-minute walk of a subway station.
Why Seoul is kind to solo first-timers
Seoul feels big, but it’s gentle with people traveling alone. The subway is clean, signs are in English, and convenience stores on almost every corner sell hot meals any time of day. Cafés welcome laptop-and-latte people for hours. Eating alone is normal, especially at noodle shops, kimbap counters, and food courts.
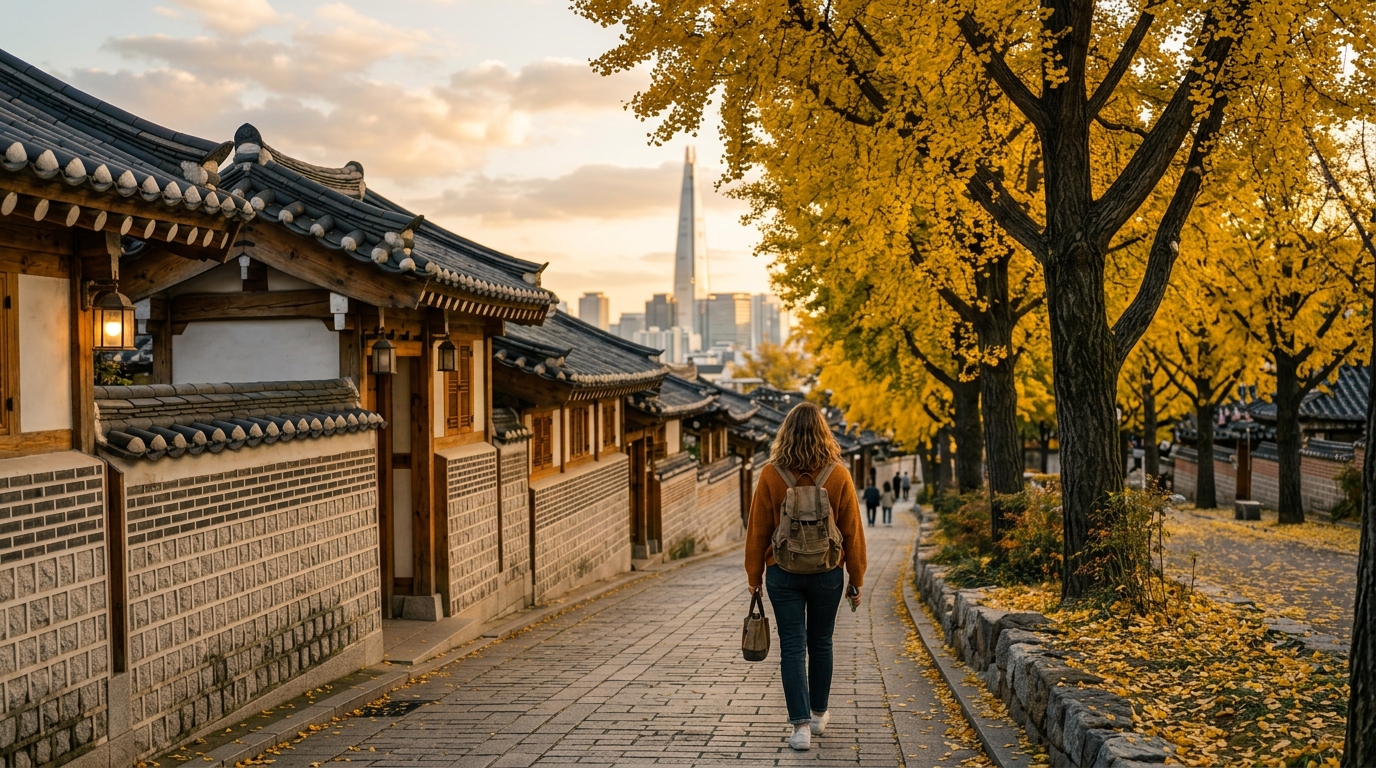
And in autumn, the city turns gold and red. Palace walls, mountain trails, and riverside parks all put on a show, and you get to enjoy it at your own pace.
Step 1: Sort out your visa first
This is the step to start before anything else. Filipinos need a tourist visa for South Korea, and you apply through an accredited travel agency rather than directly at the embassy.
When: at least four to six weeks before your flight. Processing usually takes one to three weeks and is slower in peak season.
What you’ll usually need: a passport valid for at least six months, the application form, a photo, your PSA birth certificate, proof of funds, a flight reservation, a hotel booking, and documents for your job or business.
Good news for 2026: Korea simplified some financial document requirements for Filipino applicants this year. Ask your agency which documents apply to you.
Book refundable flights and hotels until your visa is approved.
Step 2: Time your trip for the leaves
Seoul’s autumn colors peak in late October, according to the Korea Tourism Organization’s 2026 Autumn Leaves Map. Early November is still beautiful, especially in the city center.
Reading this in October and your visa isn’t ready yet? Save this guide for next autumn, or plan a winter or spring trip instead. Seoul is lovely in every season.
Pack layers. Autumn mornings and evenings are cool, so bring a light jacket, a scarf, and comfortable walking shoes.
Step 3: Getting around Seoul alone
From Incheon Airport: take the AREX train to Seoul Station. The all-stop train is cheaper; the express is faster and has reserved seats.
T-money card: buy one at the airport or any convenience store, load it with cash, and tap in and out on subways and buses. Rides start at ₩1,550.
Maps: download Naver Map or KakaoMap before you fly. Both have English menus and accurate subway directions.
Taxis: use the Kakao T app for late nights, so the route and fare are tracked.
Data: get an eSIM or a pocket Wi-Fi so your maps work from the moment you land.
Step 4: Where to stay as a solo woman
Choose a neighborhood by mood, then a stay within a short walk of a subway station.
Neighborhood
Best for
Feel
Jongno and Insadong
Palaces, tea houses, first-timers
Calm and traditional
Myeongdong
Shopping, street food, central location
Busy and bright until late
Hongdae
Cafés, indie shops, young energy
Lively, especially at night
Seoul Station area
Easy airport trips
Practical, less charming
Look for guesthouses or small hotels with a 24-hour front desk and recent reviews from women traveling alone.
Step 5: A gentle 4-day autumn itinerary
Day 1: Arrive and settle. Check in, buy your T-money card, and take an easy evening walk along Cheonggyecheon Stream. Dinner: a warm bowl of kalguksu (knife-cut noodle soup).
Day 2: Palaces and gold leaves. Visit Gyeongbokgung Palace in the morning, then walk the Deoksugung stone wall road, famous for its autumn trees. Afternoon tea in Insadong.
Day 3: Mountains and city views. Take the slow walk up Namsan to N Seoul Tower for sweeping views over red and orange hills. If you love hiking, swap this for a morning on Bukhansan’s easier trails.
Day 4: Parks and cafés. Wander Seoul Forest, then spend the afternoon café-hopping in Seongsu or Hongdae before your flight.
Keep one anchor a day and leave room to rest. The best moments are often unplanned.
Step 6: What a solo Seoul trip costs
Prices below are rough 2026 guides in Korean won. Check today’s exchange rate to convert to pesos.
Item
Approximate cost
Round-trip flight from Manila
₱[current fare]
Korean tourist visa (agency fee)
₱[current fee]
Guesthouse or budget hotel, per night
₩70,000 to ₩120,000
Meals, per day
₩25,000 to ₩45,000
Subway and buses, per day
₩6,000 to ₩10,000
Palace and tower entry, total
₩25,000 to ₩35,000
Buffer (10 to 15 percent)
Add to your total
Step 7: Solo safety and comfort tips
Seoul is generally considered safe, but keep your usual habits: share your itinerary and check in daily.
Korean BBQ restaurants often require two orders minimum. For solo dining, choose noodle shops, kimbap places, food courts, or “honbap” (eat-alone) friendly spots.
Carry a little cash for street food and markets, though cards work almost everywhere.
Save your stay’s address in Korean to show taxi drivers.
In an emergency, call 112 for police and 119 for fire and ambulance. The Korea Travel Hotline, 1330, helps tourists in English.
You’re allowed to go
You don’t have to see all of Seoul. You don’t have to speak Korean, follow a perfect itinerary, or have someone to take your photo under the ginkgo trees. You can sit on a bench with a warm drink and watch the leaves fall, and that will be enough.
You’re allowed to go, and to go slowly.
Ready to plan it? TravelNooks can book your flight to Seoul and a solo-friendly stay near the subway. New to traveling alone? Start with the free Solo Trip Starter Checklist.
FAQ
Do Filipinos need a visa to visit South Korea? Yes. Philippine passport holders need a tourist visa for South Korea, applied for through an accredited travel agency. Apply four to six weeks before your trip.
When is the best time to see autumn leaves in Seoul? Late October is the peak in the Seoul area, according to the Korea Tourism Organization’s 2026 forecast. Early November is still colorful in the city center.
Is Seoul safe for women traveling alone? Seoul is generally considered safe for solo women. Use the same habits as anywhere: stay near a subway station, use the Kakao T app for late taxis, and share your itinerary with someone you trust.
How many days do I need in Seoul? Four days is enough for a first visit: one to arrive and settle, then three days for palaces, a mountain or tower view, and parks and cafés.
What is the best area to stay in Seoul for a first solo trip? Jongno and Insadong suit first-timers who want a calm, central base near the palaces. Myeongdong is busier and great for shopping, and Hongdae suits café lovers.
Can I use Google Maps in Seoul? Only partly. Google Maps doesn’t give full walking directions in Korea, so download Naver Map or KakaoMap before you go.
To plan your first solo trip, choose an easy destination close to home, keep it to two or three days, set a peso budget with a 10 to 15 percent buffer, book your transport and first night early, plan one main activity a day, share your itinerary with someone you trust, and give yourself permission to go slowly.
Key takeaways
Start small: a two- or three-day trip within the Philippines is the gentlest first solo trip.
Book transport and your first night before anything else, and plan to arrive in daylight.
Budget in pesos by category, then add a 10 to 15 percent buffer.
Safety is a set of calm habits, not a reason to stay home.
You don’t need courage first. You need a plan, and courage tends to follow.
Why your first solo trip feels so big
If you’ve been waiting for a friend, a partner, or the “right time” to travel, you’re not alone. Most women who travel solo didn’t feel ready the first time. They simply had a plan small enough to say yes to.
This guide gives you that plan, in seven gentle steps.
Step 1: Choose an easy first destination
Your first solo trip doesn’t need to be impressive. It needs to be easy. Look for a place that is:
Close to home: a short flight, ferry, or bus ride.
Easy to get around: walkable areas, plenty of tricycles or Grab, clear routes.
Used to travelers: cafés, guesthouses, and tours that welcome people on their own.
Comfortable in your language: where you can ask for help without stress.
Good first trips for Filipinas include Baguio, Vigan, Iloilo City, Dumaguete, and Cebu City. Choose the one that makes you a little excited, not a little scared.
Step 2: Keep it short: two to three days
A weekend is long enough to learn that you can do this, and short enough that a rainy day or a quiet evening won’t feel like a failure. Save the two-week adventure for trip number three.
Step 3: Set a peso budget, with a buffer
Money worries can follow you on a trip. Settle them before you go. Write down a number for each category, then add 10 to 15 percent for surprises.
Category
What to include
Your budget (₱)
Transport
Flight, bus, or ferry; airport transfers; local rides
Stay
All nights, plus any booking fees
Food
Three meals a day, plus coffee and snacks
Activities
Entrance fees, tours, rentals
Extras
Pasalubong, SIM load, laundry, tips
Buffer
10 to 15 percent of the total above
Total
Keep your money in two places: a little cash in your bag, the rest in a separate pouch or a card. If one goes missing, you still have the other.
Step 4: Book the essentials first
Book these two things early, because they shape everything else:
Your transport there and back. Choose times that let you arrive in daylight. Arriving somewhere new in the dark is the most stressful part of many first trips.
Your first night’s stay. Look for a central location, a 24-hour front desk, and recent reviews from women traveling alone. A small guesthouse or a hotel with friendly staff often feels safer than the cheapest option.
The rest can be booked later, or not at all.
Step 5: Plan loosely: one anchor a day
Overplanning is the fastest way to feel lonely on a solo trip, because every hour becomes a task. Instead, choose one anchor activity per day: a museum, a hike, a food market, a sunset spot. Fill the rest of the day with walking, eating, and resting.
Write your anchors down, along with the address of where you’re staying. That small list will steady you when you feel unsure.
Step 6: Set up your safety habits
Safety on a solo trip comes from a few calm habits you repeat every day:
Share your itinerary with one trusted person, and agree on a daily check-in time.
Download offline maps of the area before you leave.
Carry a charged power bank and keep your phone above 30 percent.
Save photos of your ID and bookings on your phone and in your email.
Use registered transport like Grab or the hotel’s recommended driver at night.
Trust the uneasy feeling. You never need a reason to leave a place, a ride, or a conversation.
These habits aren’t about fear. They’re what let you relax and actually enjoy the trip.
Step 7: Go, and be gentle with yourself
On the day itself, expect a few awkward moments. Eating alone may feel strange for the first ten minutes, then it starts to feel like freedom. Bring a book or a journal, choose a window seat, and order something you’ve never tried.
Check in with yourself each evening: What felt good today? What would I do differently tomorrow? That small reflection is where solo travel starts to change you.
Going abroad for your first solo trip?
If your first trip is outside the Philippines, add these to your list:
Passport: check its expiry date. Many countries require at least six months of validity.
Visa: check the official embassy website for your destination, since rules for Philippine passport holders differ by country.
eTravel: register at the official eTravel website within 72 hours before your flight; departing Filipinos need it.
Travel tax: ₱1,620 for economy class. Check whether your ticket already includes it before paying separately at TIEZA.
Return ticket and stay details: keep them ready to show immigration.
You’re allowed to go
You don’t have to wait until someone is free, until you feel brave, or until everything is perfect. You can start with one weekend, one bag, and one plan small enough to say yes to.
You’re allowed to go, even if no one comes with you.
Ready to plan it? Get the free Solo Trip Starter Checklist: every step above on one printable page. When you’ve picked your place, TravelNooks can book your flight and stay.
Is it safe for a woman to travel solo in the Philippines? Yes, many women travel solo in the Philippines safely by choosing well-reviewed central stays, arriving in daylight, using registered transport like Grab, and sharing their itinerary with someone they trust.
Where should I go for my first solo trip in the Philippines? Choose a walkable, traveler-friendly city close to home, such as Baguio, Vigan, Iloilo City, Dumaguete, or Cebu City.
How long should my first solo trip be? Two to three days is ideal. It’s long enough to build confidence and short enough to feel manageable.
How much should I budget for my first solo trip? Budget by category (transport, stay, food, activities, and extras), then add a 10 to 15 percent buffer for surprises.
How do I avoid feeling lonely when traveling alone? Plan one anchor activity a day, eat at cafés with counter or window seating, join a small group tour, and check in with a friend each evening.
What do I need before my first solo trip abroad from the Philippines? You need a passport with enough validity (often at least six months), a visa if your destination requires one, eTravel registration within 72 hours of departure, the ₱1,620 economy-class travel tax if your ticket doesn’t include it, and your return ticket and stay details.
This paragraph serves as an introduction to your blog post. Begin by discussing the primary theme or topic that you plan to cover, ensuring it captures the reader’s interest from the very first sentence. Share a brief overview that highlights why this topic is important and how it can provide value. Use this space to set the tone for the rest of the article, preparing readers for the journey ahead. Keep your language approachable, yet informative, to create a strong connection.
Sometimes, the simplest moments hold the deepest wisdom. Let your thoughts settle, and clarity will find you. Use this quote space to share something inspirational or reflective, perfectly aligned with the theme of your article.
This paragraph dives deeper into the topic introduced earlier, expanding on the main idea with examples, analysis, or additional context. Use this section to elaborate on specific points, ensuring that each sentence builds on the last to maintain a cohesive flow. You can include data, anecdotes, or expert opinions to reinforce your claims. Keep your language concise but descriptive enough to keep readers engaged. This is where the substance of your article begins to take shape.
As you move toward the midpoint of the article, this paragraph provides an opportunity to connect earlier ideas with new insights. Use this space to present alternative perspectives or address potential questions readers might have. Strike a balance between depth and readability, ensuring the information remains digestible. This section can also serve as a transition to the closing points, maintaining momentum as you steer the discussion to its final stages.
Wrapping Up with Key Insights
In this concluding paragraph, summarize the key takeaways from your article, reinforcing the most important ideas discussed. Encourage readers to reflect on the insights shared, or offer actionable advice they can apply in their own lives. This is your chance to leave a lasting impression, so make sure your closing thoughts are impactful and memorable. A strong conclusion not only ties the article together but also inspires readers to engage further.